How to Zone an Open-Plan Room: A Step-by-Step Guide Using AI Redesigns
A practical, step-by-step guide to zoning an open-plan room — how to define living, dining, kitchen and work areas with rugs, lighting, furniture and one shared palette, and how to preview every option on a photo of your own space with AI before you buy anything.
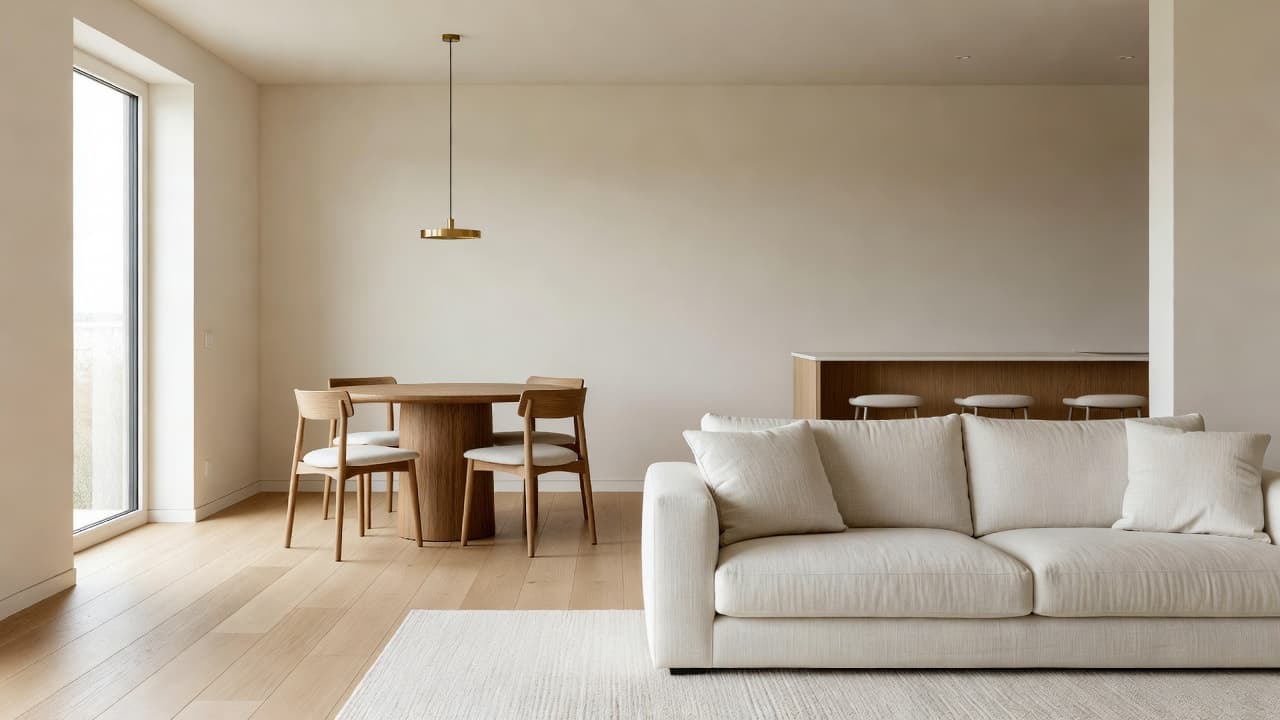
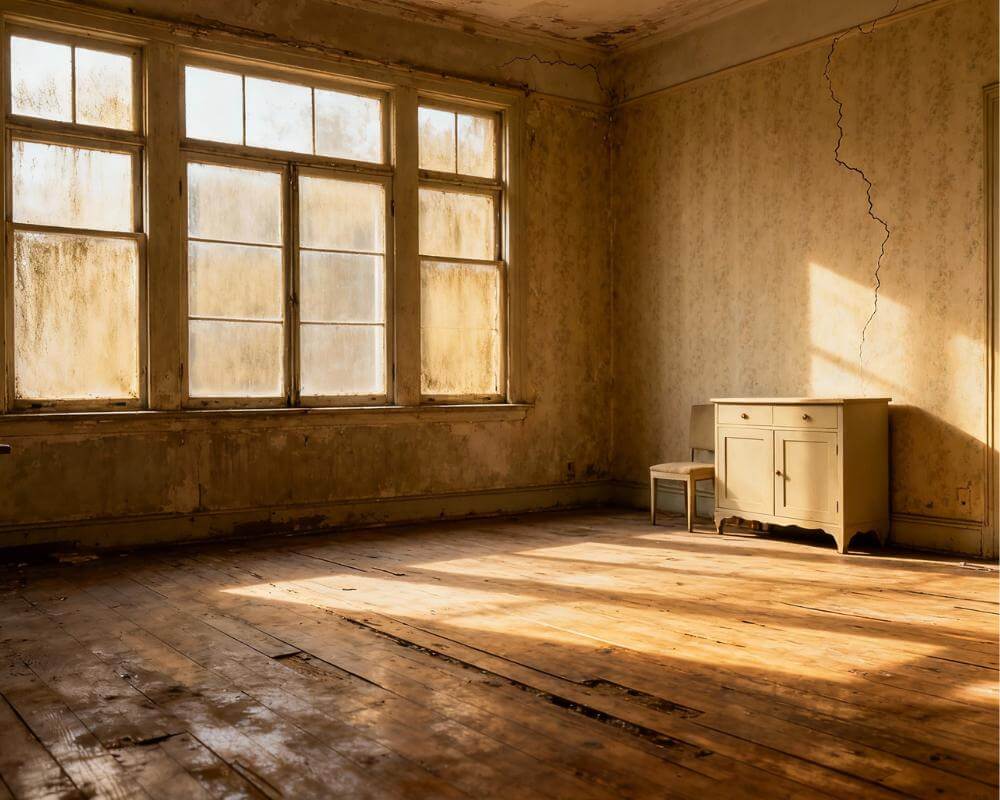
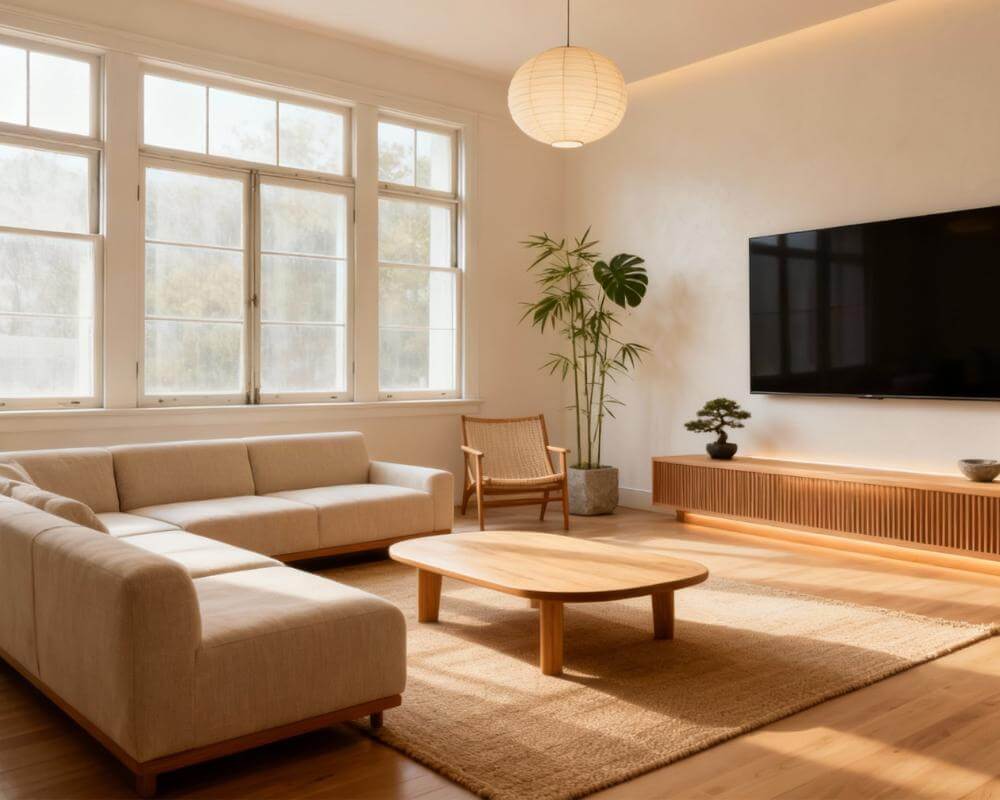
An open-plan room gives you light, space and flow, and it also gives you a problem: nothing tells the eye where the sofa area stops and the dining area starts. The result is often a big room where everything floats and nothing feels finished. Zoning an open-plan room means giving each activity its own clearly defined area without building walls. DecorAI is an AI interior design app that lets users transform photos of existing rooms into realistic redesign concepts, which makes it a handy way to test zoning ideas on your real space before you move a single piece of furniture.
This guide walks through the process in order: decide what the space needs to do, anchor each zone, define its edges with rugs, lighting and furniture, tie everything together with one palette, and then preview the whole plan on a photo of your own room.
Key Takeaways
- Start with activities, not furniture. List what the room must do (relax, eat, cook, work) and give each activity one clear zone.
- Rugs are the cheapest zoning tool. One rug per zone tells the eye where each area begins and ends.
- Light each zone separately. A pendant over the table and lamps in the seating area do more zoning than any divider.
- Keep one palette across the whole space, with a single accent per zone, so the zones feel related rather than random.
- Soft dividers beat walls. The back of a sofa, an open shelf or a console table separates areas without blocking light.
- Try DecorAI free to preview your own zoning plan on a photo of your room.
Why Does an Open-Plan Room Need Zoning at All?
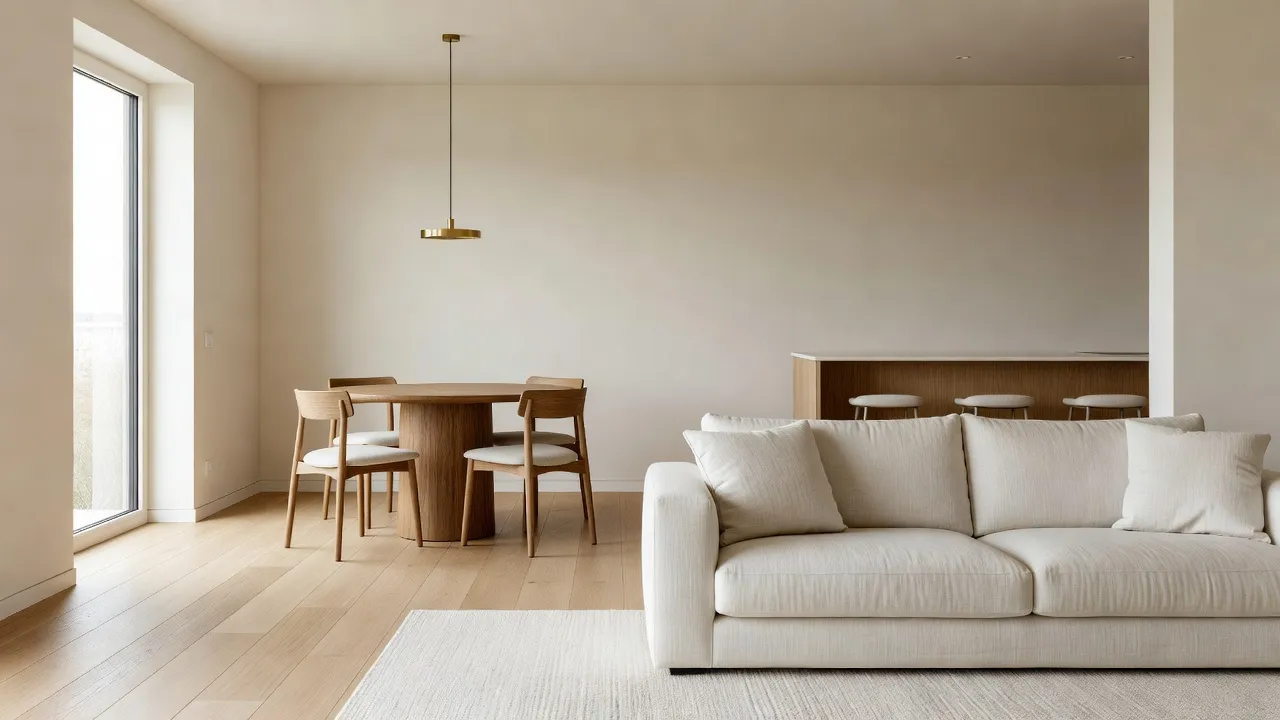
In a closed-plan home, walls do the organising for you. In an open plan, the furniture has to do it. Without zones, a sofa pushed against a wall, a dining table in the middle and a desk in the corner read as a pile of objects rather than a layout. People also use unzoned rooms less comfortably: the sofa faces the kitchen mess, the desk catches the television glare, and nobody quite knows where to sit.
Good zoning solves three things at once. It makes the room easier to use, because each activity has a home. It makes the room look calmer, because the eye reads clear groups instead of scattered items. And it makes the space feel larger, because defined areas give the room scale and rhythm. If you are designing several connected rooms, the same thinking applies across the whole home, which is covered in our guide to designing a whole house room by room.
Step 1: What Does Your Space Actually Need to Do?
Before choosing a single rug, write down the activities the room has to support. Most open-plan spaces combine some of these:
- Relaxing: a sofa, a place for the television or a view, and somewhere to put a drink.
- Eating: a table sized for the number of people who really sit at it, with space to pull chairs out.
- Cooking: the kitchen, which usually has a fixed position you will design around.
- Working: a desk with decent light and a spot you can leave set up.
- Everything else: a reading corner, a play area, a home bar, or a place to drop keys and bags.
Be honest about priorities. If you eat at the sofa every night and the dining table holds laundry, the table should probably shrink or double as a desk. A zoning plan should follow how you live, not how a showroom is arranged.
Step 2: How Do You Anchor Each Zone?
Each zone needs an anchor, one large item that the rest of the area is organised around. In the lounge it is the sofa. In the dining zone it is the table. In the work zone it is the desk. Arrange the anchors first, leave comfortable walking routes between them (the main paths should be clear and generous), and add smaller pieces afterwards.
The most common mistake is pushing every anchor against a wall. Pulling a sofa a little way into the room and letting its back face the dining area creates a boundary with no construction at all. If you are unsure how the pieces should sit, our guide to the AI room layout planner explains how to test arrangements before you carry anything.
Step 3: Can a Rug Really Define a Zone?
Yes, and it is the cheapest, most reversible zoning device there is. A rug makes a visual island: the furniture sitting on it belongs together, and the bare floor around it is circulation. A few rules keep it working:
- Size it so the front legs of the sofa and chairs sit on it. A rug that is too small looks like a doormat and fails to group the furniture.
- Under a dining table, make the rug large enough that the chairs stay on it when they are pulled out.
- Use a different rug per zone but keep them related in colour or texture, so the room feels designed rather than assembled.
- Where the floor is one continuous material, rugs also break up a large expanse that would otherwise feel empty.
Step 4: How Should You Light Each Zone?
A single ceiling light treats a big room as one space. Layered lighting does the opposite: it gives every zone its own pool of light and lets you change the mood area by area. A pendant above the dining table, floor and table lamps in the seating area, and a focused task light at the desk or kitchen counter all mark the edges of each zone. At night, when the lights are dimmed unevenly, the zones become even clearer.
Pay attention to height and scale. A pendant over a table should hang low enough to feel connected to it, and a lamp in the seating area should not compete with the television. For more on this, see our guide to planning room lighting with AI.
Preview Your Zoning Plan on Your Own Room — Free
Upload one photo of your open-plan space, name each zone, and see a realistic redesign in the style you choose before you buy a rug or a lamp.


Step 5: What Soft Dividers Work Without Closing the Space In?
You do not need a wall to separate zones, and in most open plans you would not want one, because the light and the sense of space are the reason you chose the layout. Soft dividers separate areas while keeping the room open:
- The back of a sofa: floating a sofa with its back to the dining or work area is the simplest boundary.
- An open shelving unit: it holds books and plants, and light and sightlines pass through it.
- A console table: low enough to keep the view open, and useful for lamps and storage behind a sofa.
- A change of level or material: a rug, a different floor finish or a ceiling detail marks a zone without any furniture.
- Plants and screens: a row of tall plants or a slim screen gives privacy to a work corner.
Step 6: How Do You Keep the Zones Looking Like One Room?
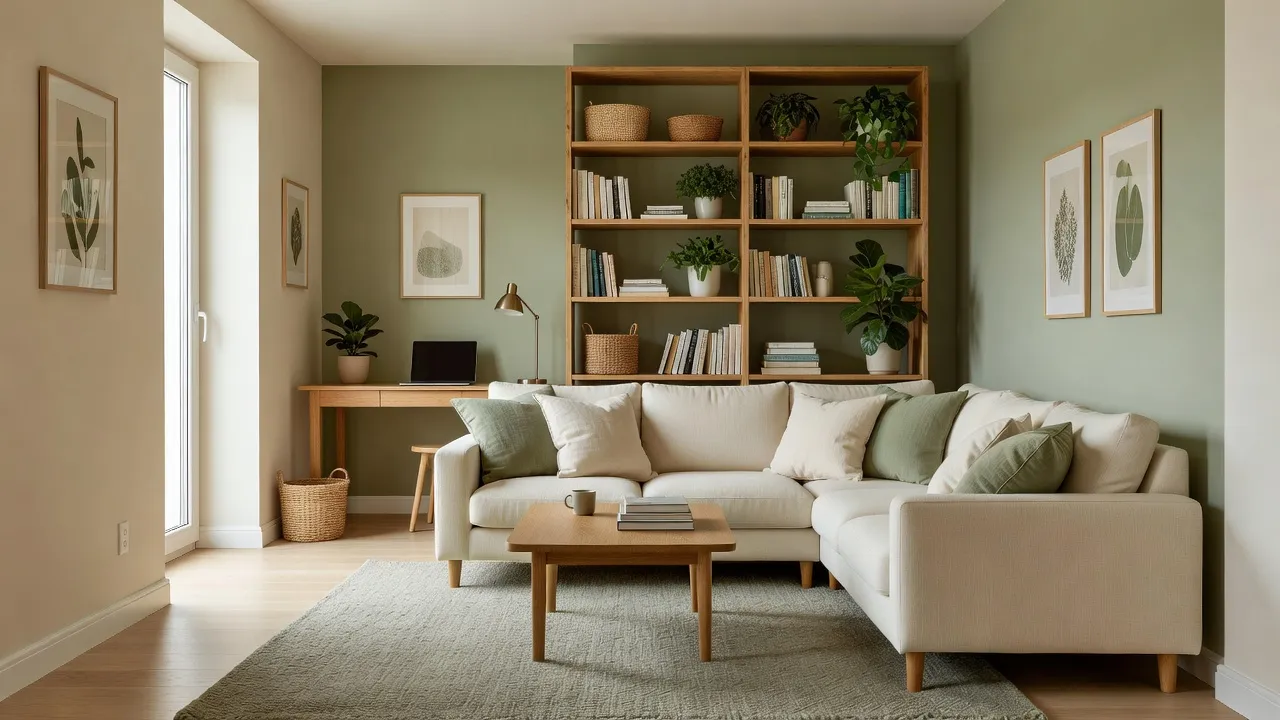
Zones should be distinct, but they should not look like separate rooms that happen to share a floor. The simplest way to unify them is one core palette across the entire space, with a single accent colour per zone. A warm neutral base throughout, a deeper green in the lounge, and a touch of brass in the dining area will read as one considered scheme. The most common error is a mismatch of colour temperature, where a warm area sits beside a cool one and the join looks accidental.
Repeat materials as well as colours: the same wood tone on a table, a shelf and a desk quietly connects the zones. For help choosing colours that work together, see our guide to AI colour palettes for room design.
How Do You Preview an Open-Plan Zoning Plan With AI?
Because every change in an open plan is visible from everywhere, this is one of the places where previewing pays off most. A practical workflow with DecorAI looks like this:
- Photograph the whole space from the corner that sees the most of it, in good daylight, with floors and walls visible. Our guide on how to photograph your room for AI design covers framing.
- Choose the room type and a style in the DecorAI Interior Designer, then name every zone in the free-text field, for example "kitchen, dining and living in one room; keep the island; define the living zone with a rug".
- Use the Open Floor Plan option if you also want the layout itself rethought, rather than only restyled.
- Generate the whole space first for the overall direction, then generate each zone close-up for the detail. Together they are far more convincing than either one alone.
- Compare a few variations. Try a different rug, a different accent colour or a different divider and keep the version that makes the zones read most clearly.
If one area needs a targeted fix, the Inpainting editor changes only the part you paint over, which is handy for swapping one lamp or one rug without regenerating the whole room. And if you want to see how a specific piece would look, Furniture Import places a product from a photo into your room, although it shows appearance rather than fit, so always measure before you buy.
Treat the result as a visual concept. It will not know your exact dimensions or check clearances, so use it to decide direction and then plan the real layout with a tape measure. For living areas specifically, you may also like our AI living room design ideas.
What About a Small Open-Plan Space or a Studio?
The principles are the same, but the margins are smaller. Choose multifunctional pieces (a dining table that doubles as a desk, a storage ottoman, a console behind the sofa), keep dividers low and open, and limit each zone to one anchor and a few supporting items. In a studio, a rug and the position of the sofa often do all the zoning you need, and a bookcase can separate a sleeping or work area without closing anything off. If you work from home in a shared space, our home office design guide has ideas for a work zone that you can pack away at the end of the day.
Common Open-Plan Zoning Mistakes to Avoid
- Pushing everything to the walls and leaving a hollow middle that nothing defines.
- Rugs that are too small to hold the furniture group they are meant to anchor.
- One central light instead of layered lighting per zone.
- Different styles in each zone with no shared palette or material to connect them.
- Tall, solid dividers that block light and make the space feel smaller.
- Ignoring walking routes, so you have to squeeze past a chair to reach the kitchen.
Open-Plan Zoning FAQ
How do I separate a living room and dining area without a wall?
Float the sofa with its back toward the dining area, give each zone its own rug, and light them separately with a pendant over the table and lamps by the sofa. A low console or open shelf behind the sofa strengthens the boundary.
Should all the zones match?
They should relate, not match. Share one base palette and a repeated material, then give each zone its own accent so the areas feel distinct but connected.
Can AI show me how my open-plan room could be zoned?
Yes. Upload a photo of the whole space to DecorAI, describe each zone in the free-text field, and the app generates a redesign concept of your actual room. It is a visual preview, so confirm measurements and clearances yourself before buying furniture.
What is the cheapest way to define a zone?
A well-sized rug, followed by a change in lighting. Both are inexpensive, reversible and effective, and you can preview them on a photo before you buy.
How many zones are too many?
In most open plans, three or four clear zones is the limit. Beyond that the room tends to feel cluttered, so combine functions where you can.
Conclusion
To zone an open-plan room, decide what the space must do, anchor each activity with one large piece, define its edges with a rug, layered lighting and a soft divider, and tie everything together with one palette. The best part is that you do not have to guess: upload a photo to DecorAI to preview your plan on your own room, browse the styles gallery for a direction, or head back to the DecorAI homepage to get started.
Visualize Your Dream Home Instantly
Don't just read about it. Experience the power of AI interior design with DecorAI's free tool.
Start Designing for FreeWritten by
DecorAI Team
Editorial Team