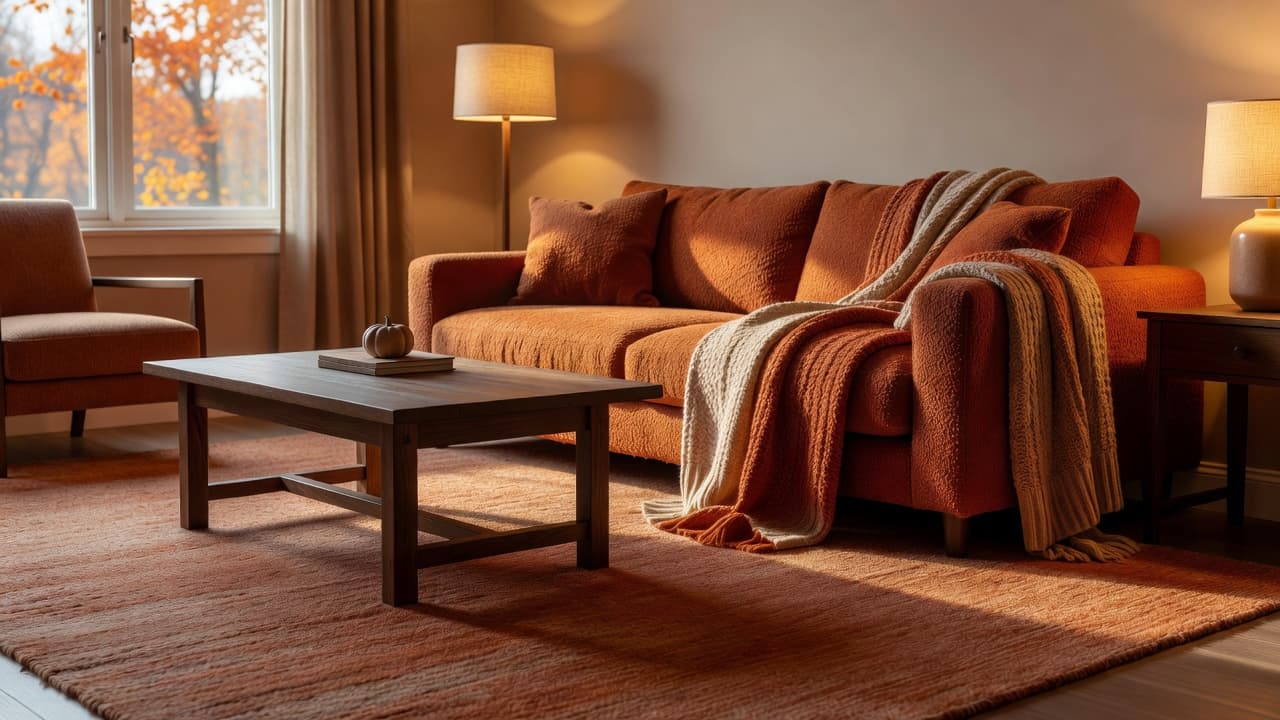
How to Use an AI Redesign as a Brief for Your Contractor or Designer
A practical how-to for turning an AI room redesign into a clear brief for your contractor or interior designer — what to include, how to mark what changes and what stays, how to use a colour palette and cost range, and how to avoid the misunderstandings that blow up renovation budgets.
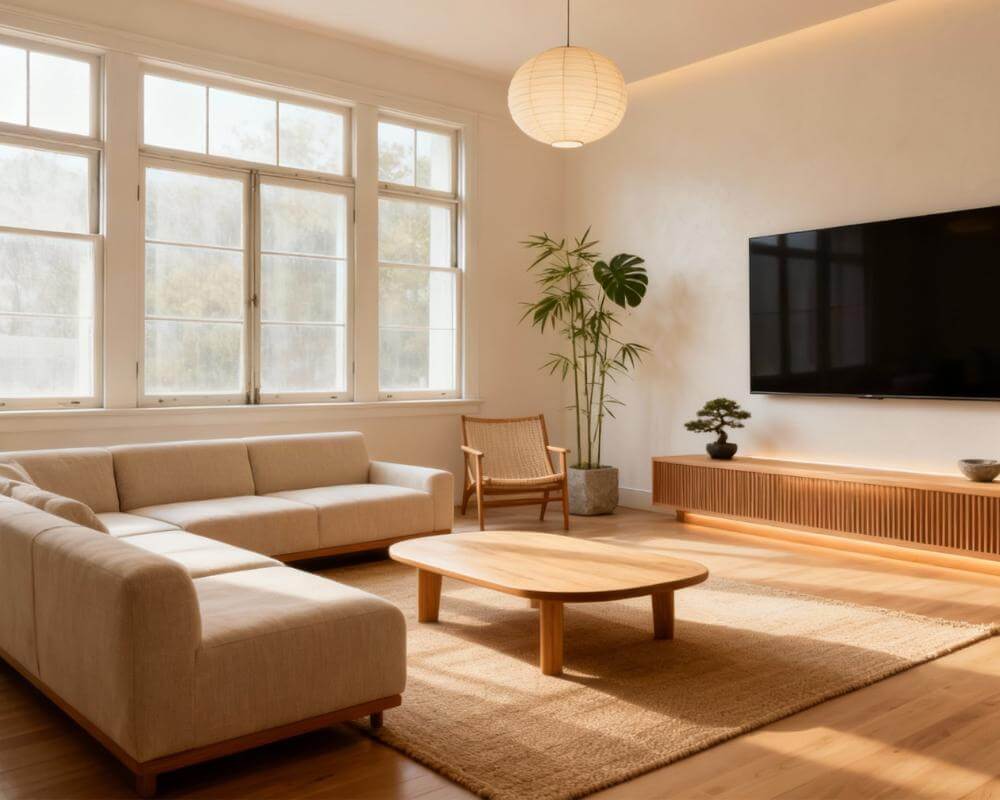
An interior design brief is the difference between a contractor building the room you imagined and building the room they understood. Most renovation disputes start the same way: you said "warm and modern," they heard something else, and nobody noticed until the cabinets were installed. DecorAI is an AI interior design app that lets users transform photos of existing rooms into realistic redesign concepts. That makes it a surprisingly good briefing tool, because a picture of your own room, redesigned, says more in five seconds than a page of adjectives.
This guide shows how to turn an AI redesign into a brief that a contractor, interior designer or even a handy relative can actually work from: what to include, how to separate the things that change from the things that stay, how to use a colour palette and a rough cost range, and where an AI image stops being useful and a professional's judgement has to take over.
Key Takeaways
- A redesign image is a picture of the destination, not a set of instructions — the brief is what turns it into work someone can price and schedule.
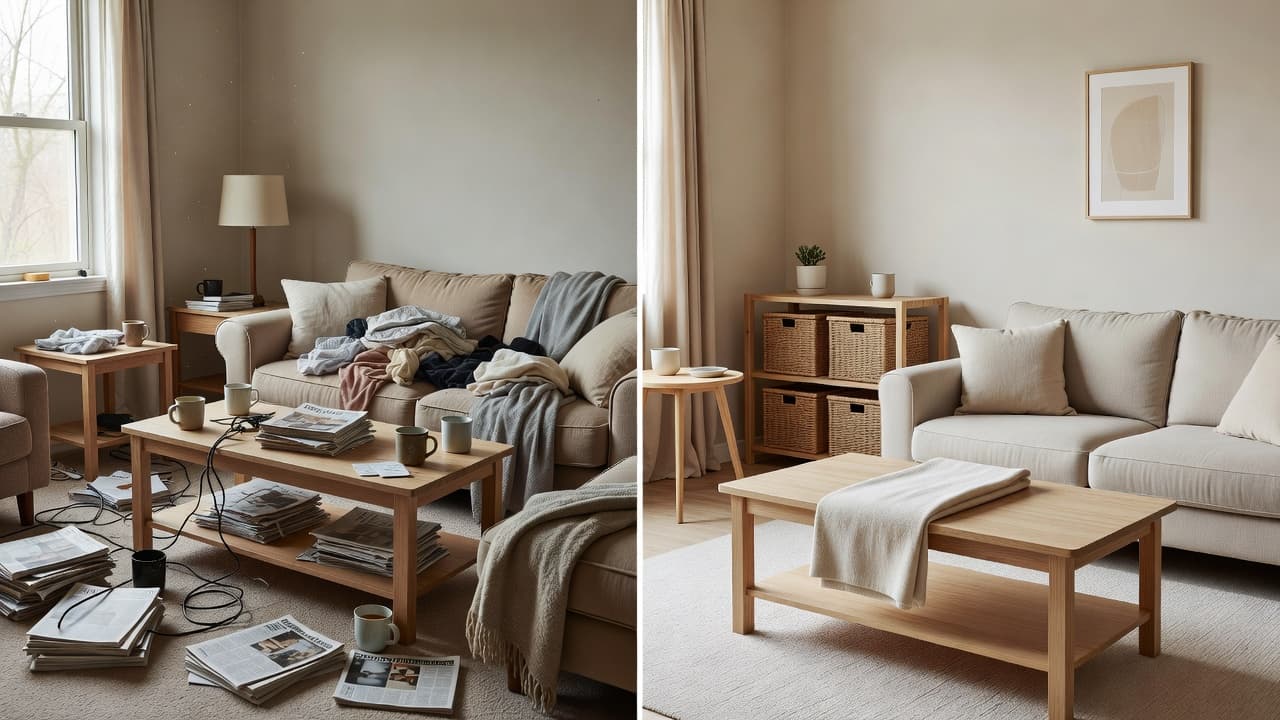
- Always show the before photo next to the after so the person reading the brief can see exactly what is changing.
- List what stays as carefully as what changes; unspoken assumptions are where budgets go wrong.
- Use exact colour values and named materials, not adjectives like "warm" or "airy."
- Treat any AI cost range as a planning-grade order of magnitude, and ask for a real quote against the brief.
- Try DecorAI free to generate a redesign of your own room and start your brief from it.
Why Do Design Briefs Go Wrong in the First Place?
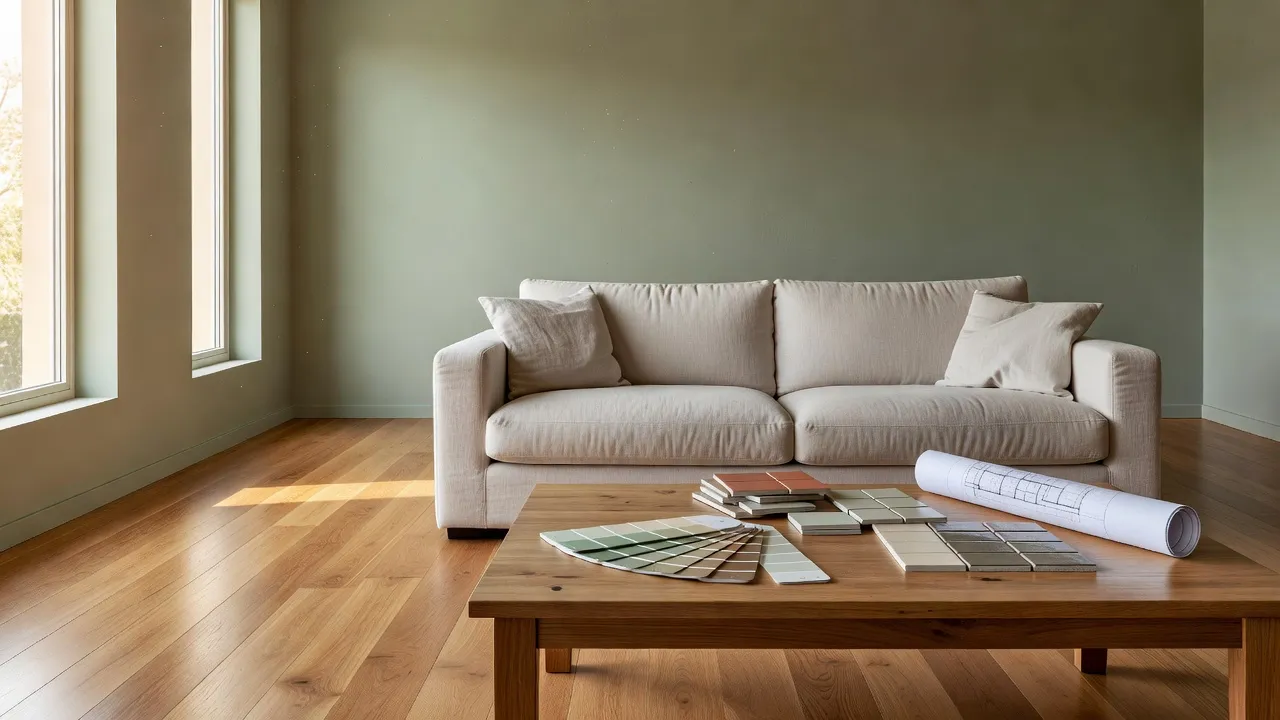
Words are a lossy way to describe a room. "Scandinavian" means pale oak and white walls to one person and grey concrete and black metal to another; "farmhouse" ranges from rustic barn wood to crisp shaker cabinets. When a brief relies on style names and adjectives, the contractor fills the gaps with their own taste and their own habits, which is reasonable for them and expensive for you. The second common failure is omission: a brief that describes the new tile but says nothing about whether the old backsplash is coming out, or the new lighting but not whether the wiring is being moved. Both problems are solved by showing rather than telling, and by being explicit about scope.
What Does an AI Redesign Add to a Brief?
An AI redesign gives you something a mood board alone cannot: your own room, from your own angle, in the new style. Because DecorAI works from a photo of the real space, the walls, windows, ceiling height and proportions in the image match the room the contractor will be standing in. That makes it much easier to agree on questions like "does the island really fit here?" or "is the green too dark against this window?" before anyone orders materials.
It works best as one input among several. Pinterest boards show mood, sample boards show materials, and a floor plan shows dimensions; the AI redesign shows how it all lands in your room. If you are still gathering inspiration, our guide to an AI mood board creator covers how to collect and organise references first.
How Do I Build the Brief Step by Step?
Step 1: Start with a good "before" photo
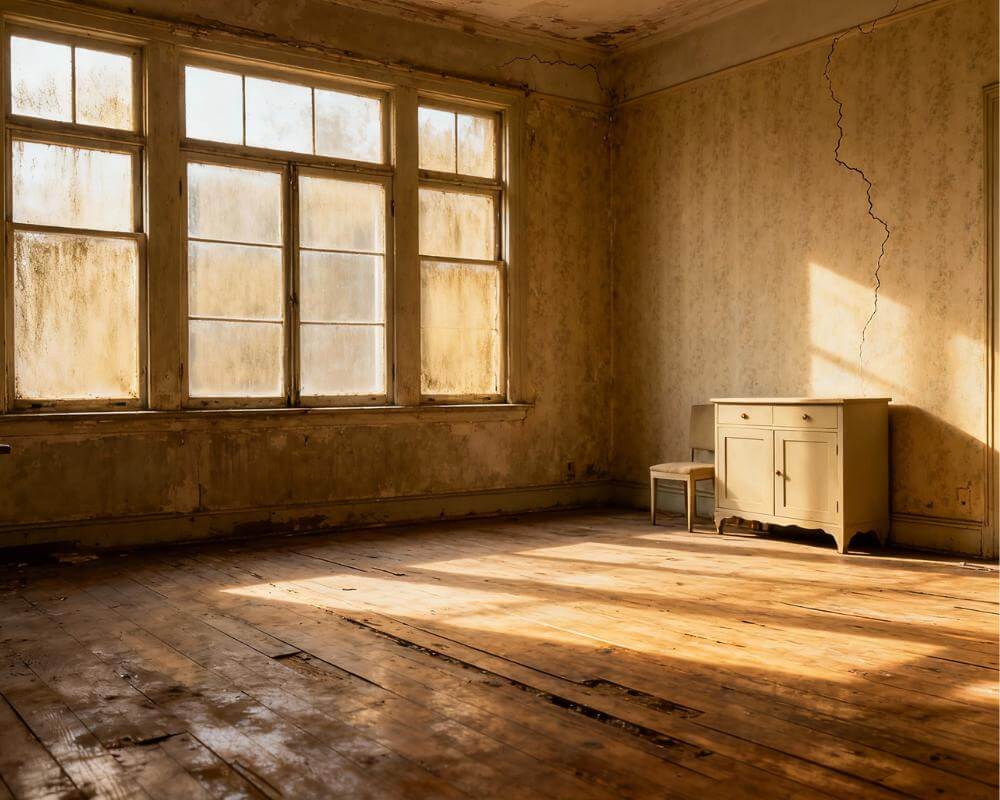
Take the photo from a doorway or corner so the whole room is visible, in daylight, with clutter cleared. The same photo becomes the "before" in your brief, so a clear, straight-on shot helps both the AI and the person reading the brief. Our guide on how to photograph your room for AI design has the exact angles and lighting tips.
Step 2: Generate two or three options, then pick one
Generate the same room in a few directions and choose the one you would actually live with. A brief that shows a single, decided direction is easier to price than a folder of maybes. Keep the runners-up for a "second choice" note in case the first runs into a budget or availability problem.
Step 3: Write the "changes" and "stays" lists
Put the before and after side by side and write two short lists. Under changes, be specific: "repaint walls, remove wall-mounted TV bracket, new pendant over table, replace floor lamp." Under stays, name the things a contractor might otherwise assume are fair game: "existing hardwood floor, window trim, fireplace surround, radiator." This one page prevents more arguments than any other part of the brief.
Step 4: Pin down colours and materials
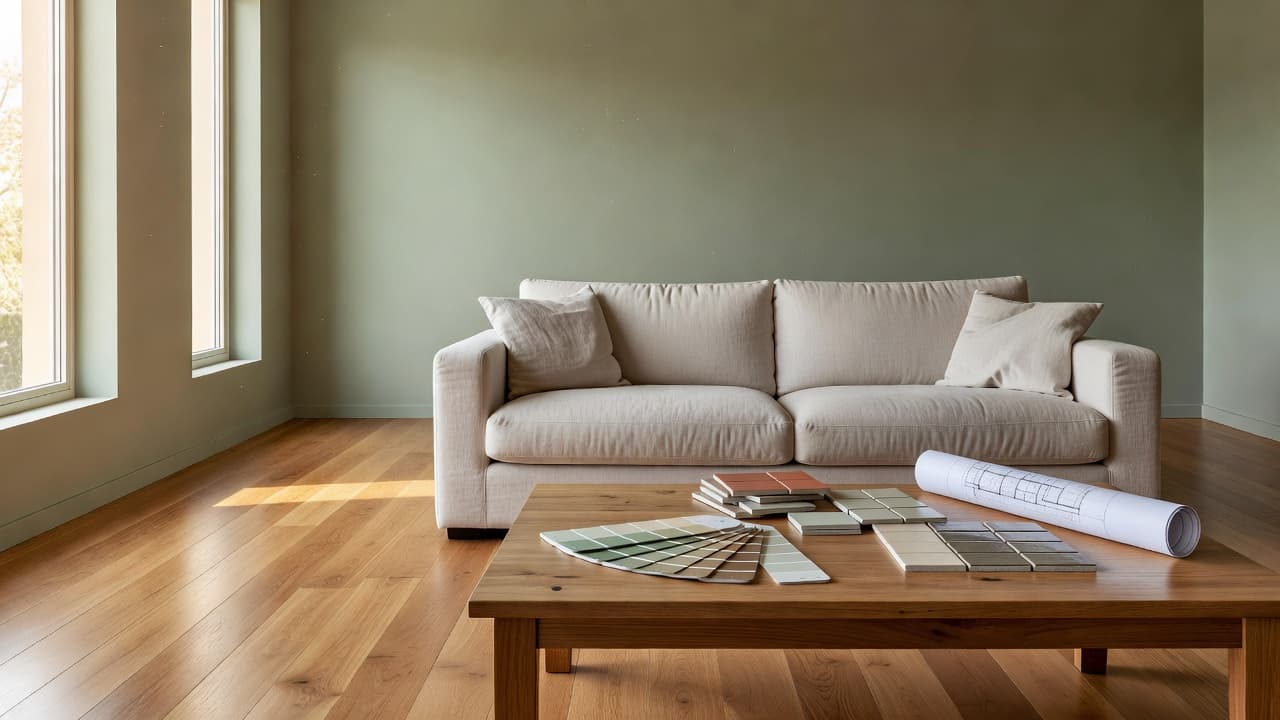
Replace adjectives with values. A named colour with a hex code, a brand and finish for paint once you have chosen one, and a description of each material — "matte white shaker cabinet doors, brushed brass handles, honed quartz counter" — gives everyone the same target. A DecorAI Design Report includes a named colour palette with hex codes, which is a handy starting point; ask a paint shop to match the values and confirm against a physical sample, because screens never show colour perfectly.
Start Your Brief From a Real Redesign — Free
Upload one photo of your room, see it redesigned in the style you choose, and use the result as the visual anchor for your contractor or designer.


Can a Design Report Do Part of the Work?
Yes. A DecorAI Design Report turns a finished design into a written plan: a style profile and designer's assessment, a named colour palette with hex codes, a before-and-after list of what changed, five to seven prioritised recommendations, a three-tier cost estimate with a per-category breakdown, an ordered action plan, and a branded PDF export. Design Reports require Pro. The PDF is a convenient attachment for an email to a contractor, since it carries the image, the palette and the list of changes in one file. Our guide to Room Analysis and Design Reports walks through each section.
The cost estimate deserves one caution. It is priced in your local currency and split into budget, mid-range and premium tiers, but it is a planning-grade order of magnitude, not a quotation. Use it to sanity-check whether a project is in your price range, then ask for real quotes against your written brief.
What Should the Finished Brief Contain?
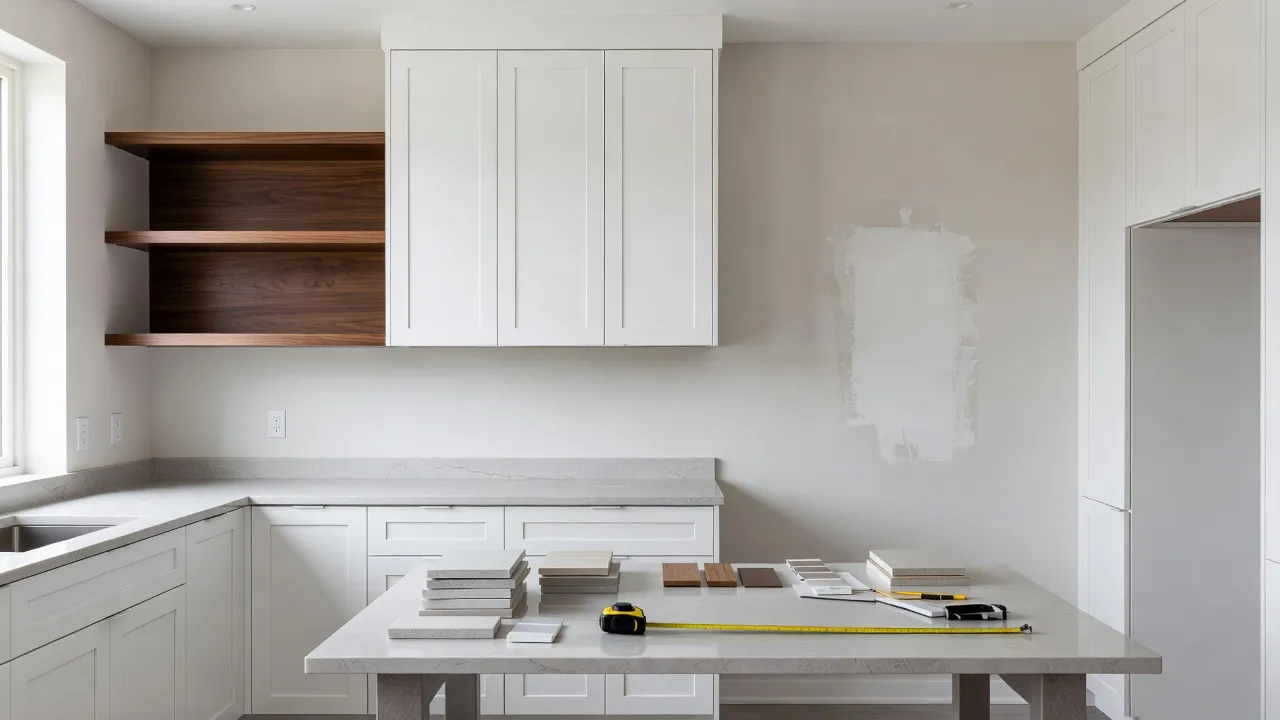
A one- or two-page brief covers everything a contractor or designer needs to give you a useful first response. Aim for these parts, in this order:
- The room and the goal. One sentence: "Refresh the living room for a family of four, with more seating and less clutter."
- Before and after images. The original photo and your chosen AI redesign, side by side.
- Changes and stays. The two lists from Step 3.
- Colours and materials. Named values and finishes, plus photos of any physical samples.
- Budget range and timing. A realistic range and any hard dates, such as a move-in or a holiday.
- Non-negotiables and open questions. What you will not compromise on, and what you want their advice about.
If you are planning a larger project, our guide to using AI for home renovation covers how to sequence the work around a brief like this.
Where Does an AI Redesign Stop Being Enough?
An AI image shows how a room could look; it does not know what is inside the walls. It cannot tell you whether a wall is load-bearing, whether the plumbing can move, whether the electrical panel can handle a new circuit, or whether a particular window opening meets code. Those questions belong to a contractor, an engineer or your local building department, and your brief should say so plainly: "Concept only — please confirm feasibility." Good professionals appreciate this. It tells them you understand the image is a starting point for a conversation, not a set of construction drawings.
It is also worth being upfront if a designer is involved. Many now welcome AI concepts as a faster way to understand your taste; our piece on how interior designers use AI tools shows how professionals fold them into their workflow, and AI versus human interior designers explains what each does best.
Common Briefing Mistakes to Avoid
- Sending only the after image. Without the before, nobody can see the scope of work.
- Treating the render as exact. Furniture in an AI image is a suggestion; specify real products and dimensions separately.
- Skipping the "stays" list. Assumptions about what is being removed are the most common source of surprise costs.
- Choosing colours on a screen alone. Always confirm against a physical sample in the room's own light.
- Hiding the budget. A stated range lets professionals propose options that fit, rather than a dream version you cannot afford.
Design Brief FAQ
Can I give my contractor an AI image instead of a written brief?
You can, but you will get better quotes and fewer surprises with both. The image shows the goal; the written changes, stays, materials and budget show the scope.
Will a designer be offended if I bring an AI redesign?
Most are not. Presented as a picture of the direction you like rather than a finished plan, an AI concept helps a designer understand your taste quickly and lets them focus on layout, sourcing and problem-solving.
Can the AI cost estimate replace a contractor's quote?
No. The estimate is a planning-grade order of magnitude that helps you judge whether a project is realistic. A quote based on your written brief and a site visit is the number to budget against.
What if my contractor cannot build what the image shows?
That is useful to learn early. Ask what would need to change and why, then generate a revised concept that respects the constraint and update the brief.
How many images should I include?
One clear before photo and one chosen after image is enough for most briefs. Add a second angle if the room is large or has distinct zones, and keep alternatives in a separate "second choice" note.
Conclusion
The best interior design brief is short, visual and specific: the before photo, the chosen redesign, a clear list of what changes and what stays, named colours and materials, and an honest budget. An AI redesign gives you the picture; you supply the scope. Upload a photo to DecorAI to generate a redesign of your own room, browse the styles gallery for direction, or head back to the DecorAI homepage to get started.
Visualize Your Dream Home Instantly
Don't just read about it. Experience the power of AI interior design with DecorAI's free tool.
Start Designing for FreeWritten by
DecorAI Team
Editorial Team