AI Design a Room: Step-by-Step From Photo Upload to Final Style Plan
Learn how to design a room with AI from photo upload to final style plan. Follow a practical workflow for layout, style, budget, and execution using DecorAI.
If you want to design a room with AI, the biggest mistake is treating the first image you generate like the final answer. The best results come from a repeatable process: define the goal, upload the right photo, test a few style directions, compare the layouts realistically, and turn the strongest render into an actual plan. That process is exactly what separates “nice inspiration” from a room you can genuinely improve.
This guide walks through that workflow from start to finish. Whether you are redesigning a small living room, refreshing a bedroom, reworking a dining nook, or planning a renter-friendly home office, DecorAI - AI Interior Design can help you move from vague ideas to a clear visual direction in minutes.
What It Really Means to Design a Room with AI
When people search for ai design a room, they usually want one of three things: a faster way to explore styles, a clearer way to compare layouts, or a safer way to make decisions before spending money. AI can help with all three, but only if you use it as a planning tool instead of a random image generator.
A strong AI workflow starts with your actual room. You upload a photo, select a direction, and let the tool generate realistic concepts based on the room’s structure. That is why this process feels so useful. You are not browsing someone else’s perfect showroom. You are testing ideas on your real walls, your real floor plan, and your real lighting conditions.
Design publications such as HGTV consistently emphasize that good rooms are built around flow and function before décor. AI helps because it lets you validate both visually instead of guessing.
Step 1: Start with Function Before Style
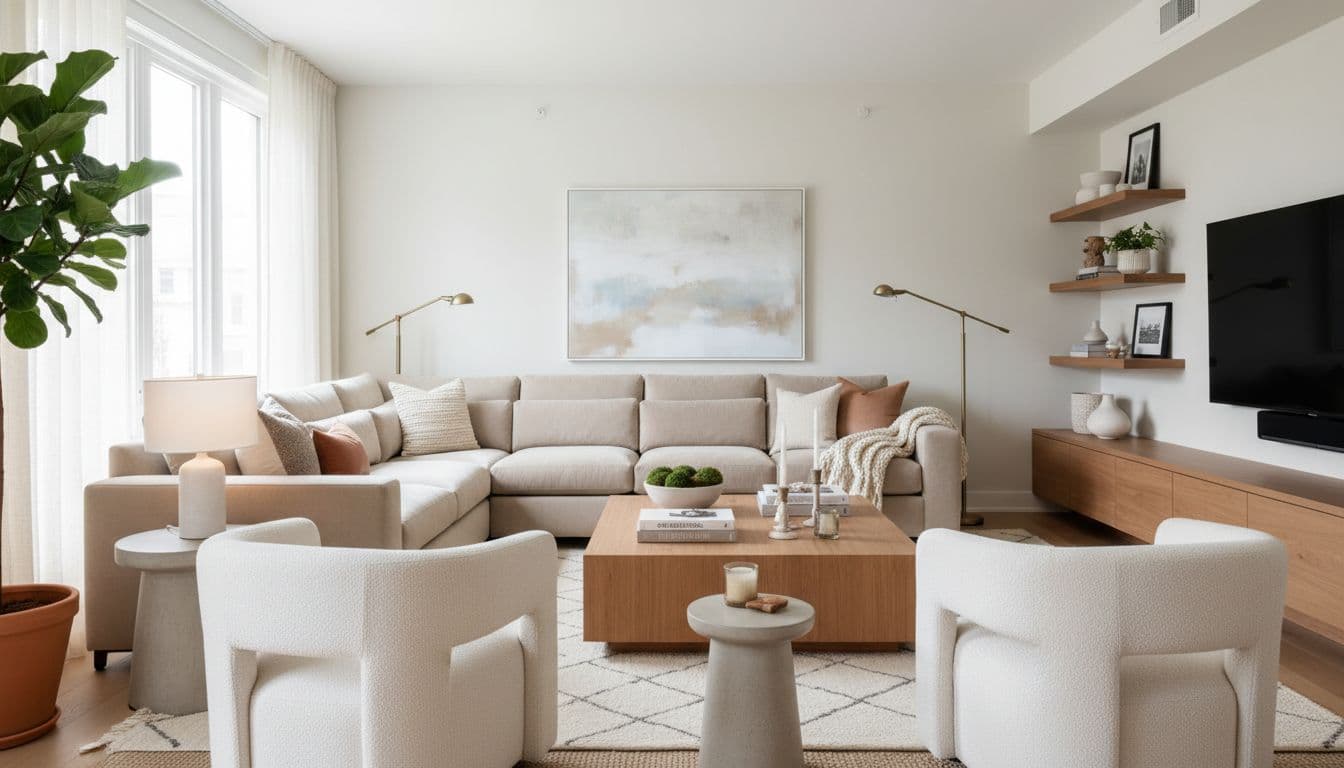
Before you generate anything, ask one simple question: what is this room supposed to do better than it does now? Most rooms feel “off” because the function is unclear. Maybe the living room has no focal point. Maybe the bedroom feels cluttered. Maybe the dining nook looks unfinished. Maybe the home office is technically usable but not comfortable enough for daily work.
Defining that problem first makes every later decision sharper. If the room needs better circulation, you will judge renders by layout first. If the room feels cold, you will care more about texture and warmth. If the room needs to work on a budget, you will focus on upgrades that look achievable rather than just aspirational.
DecorAI works best when you give yourself a clear job to solve. Do not open the app asking, “What looks cool?” Open it asking, “How do I make this room feel calmer, brighter, larger, warmer, or more practical?” That shift alone improves the quality of the decisions you make from the render.
Step 2: Upload a Better Photo Than You Think You Need
Your result quality depends heavily on the input photo. If the AI cannot clearly read the room, the design will feel weaker, no matter how strong the style idea is. A good photo does not need to be professionally shot, but it should be clean, bright, and easy to interpret.
- Use daylight. Natural light helps the AI read materials and depth more accurately.
- Shoot at eye level. This keeps proportions believable.
- Show at least two walls. More context improves layout interpretation.
- Remove temporary clutter. Laundry, bags, and random objects can weaken the result.
- Take two or three options. If one angle performs poorly, you have a backup immediately.
If you want a deeper photo-prep workflow, our photo-to-style guide and AI image redesign article go further into angles, framing, and why lighting matters so much.
Step 3: Pick a Style Direction, Not Just a Trend
Once your photo is ready, the next step is choosing a design direction. This is where many people get distracted by trends. A trendy look can still fail if it does not match the room’s architecture, your budget, or your daily routine. The better question is not “What is popular right now?” It is “Which style makes this room work better for me?”
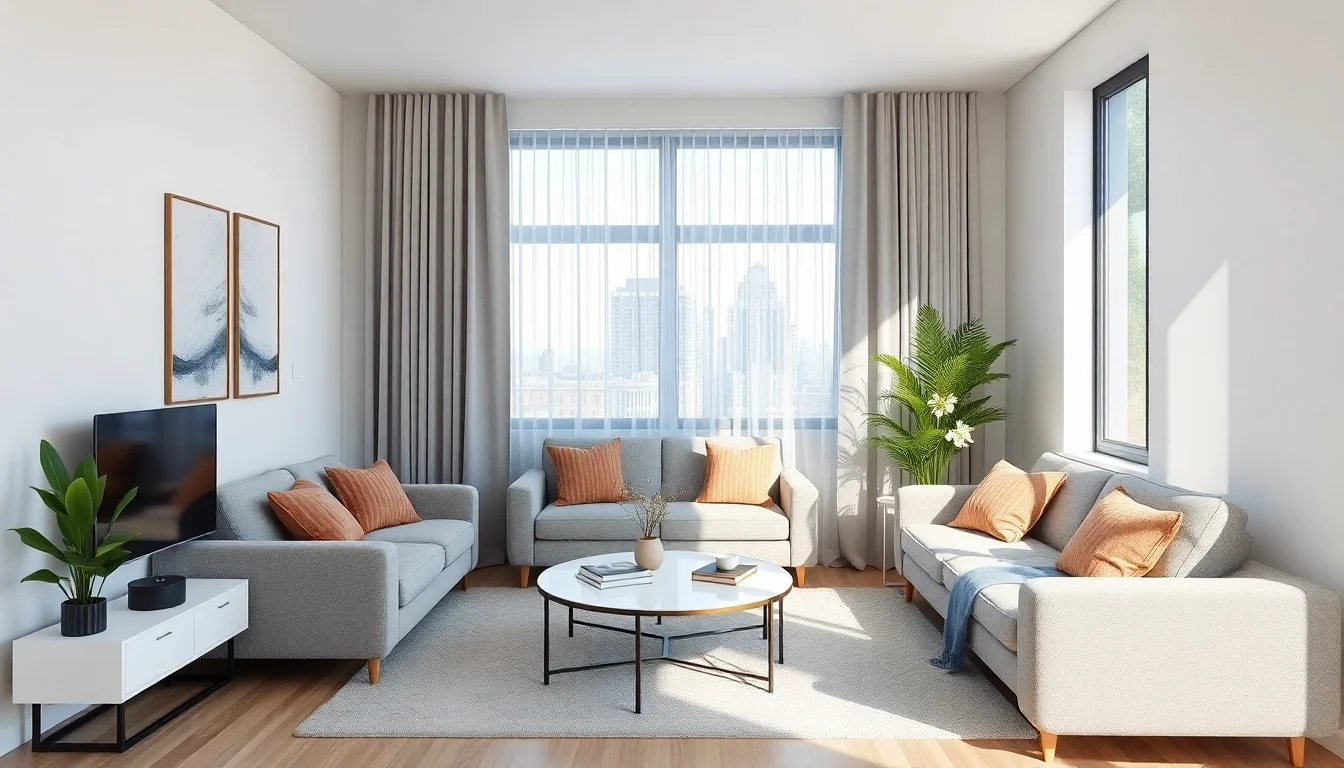
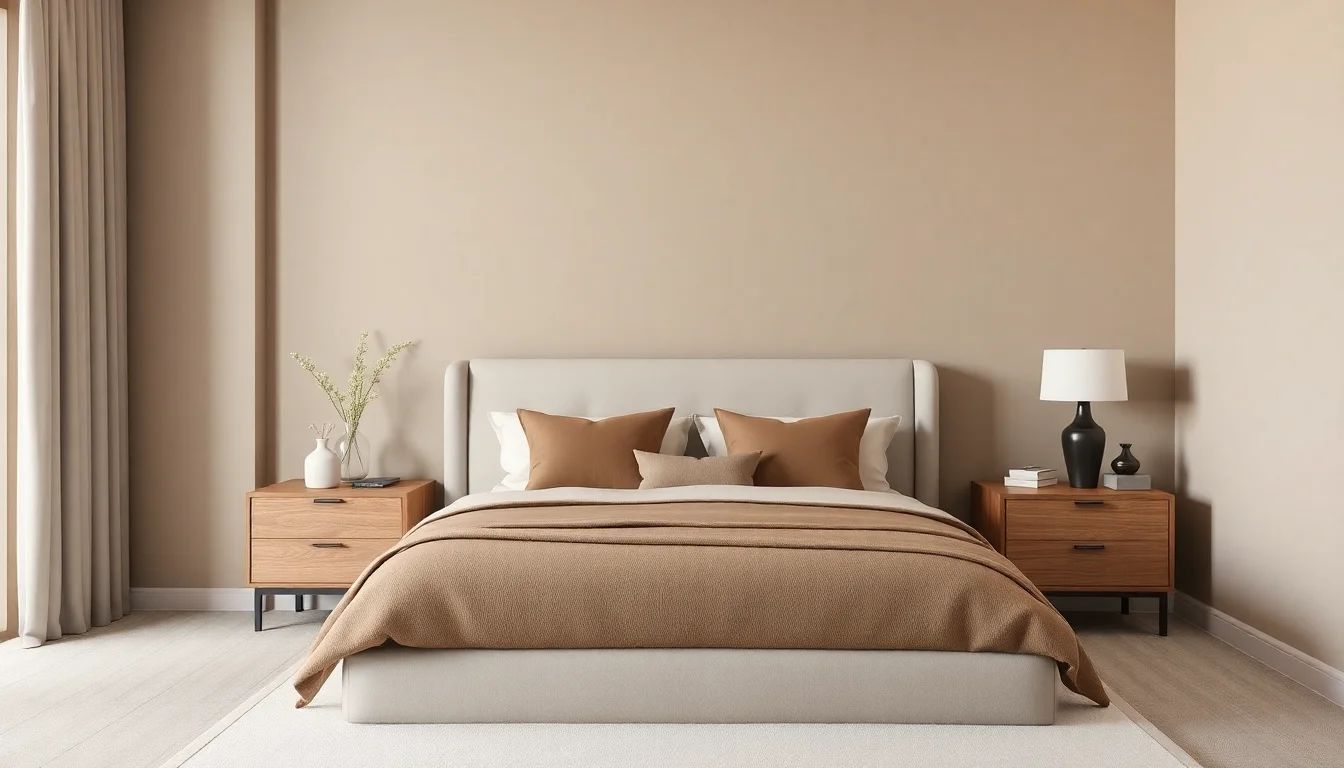
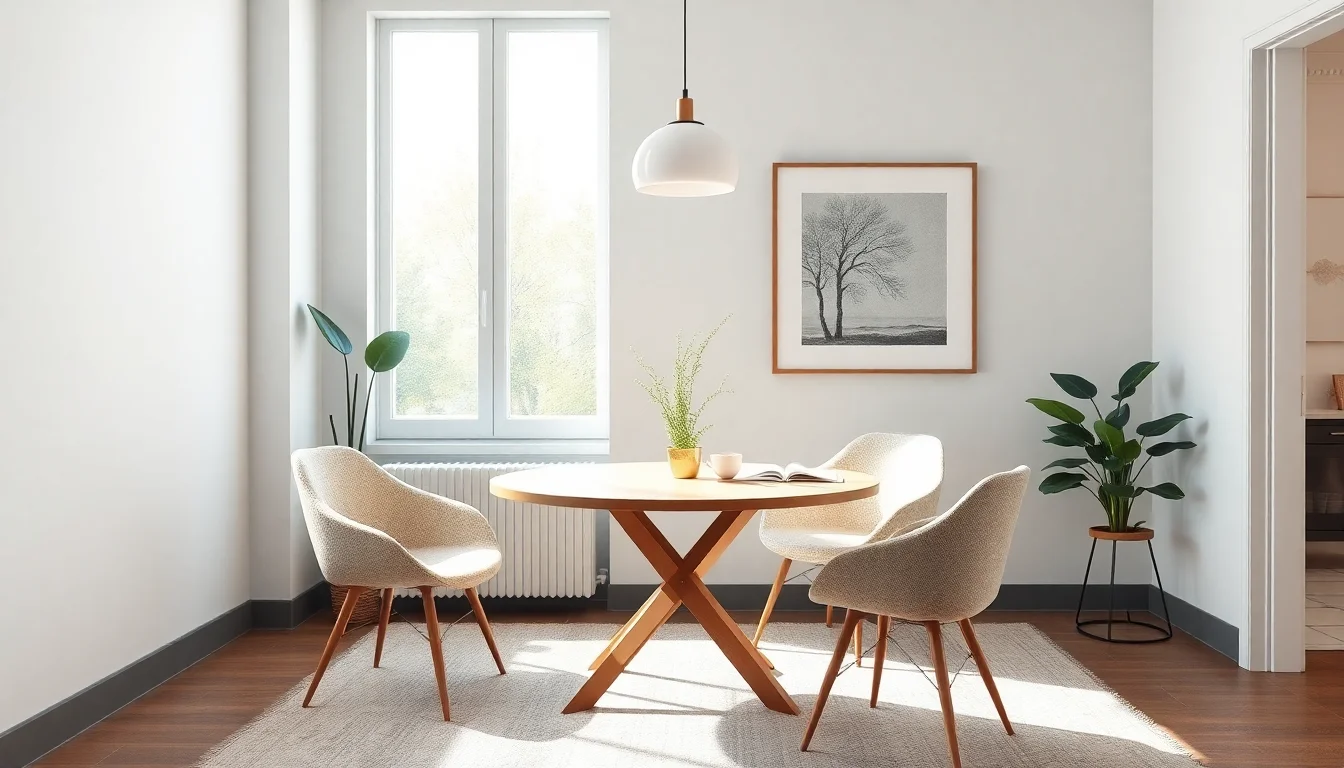
For example, a compact room often performs better in Scandinavian, warm minimalist, or Japandi directions because those styles reduce visual noise and improve perceived openness. A dining nook may benefit from a slightly richer look with sculptural lighting and a stronger focal point. A bedroom may need softness, layered textiles, and lower contrast instead of maximum visual drama.
That is why DecorAI’s style exploration is so useful. You can test several coherent options quickly, compare them side by side, and then go deeper in the directions that actually suit the room. If you need inspiration before choosing, explore the style gallery and our beginner’s guide before you lock anything in.
Step 4: Judge the Layout Before You Judge the Shopping List
A render can look beautiful and still be wrong for real life. That usually happens when people focus only on the finish layer. The wall color looks good. The furniture shape looks good. The rug looks good. But the walkway is cramped, the room has no breathing space, or the focal point is unclear. Before you save a design, judge the structure.
Ask yourself:
- Is there enough open space to move comfortably?
- Does the furniture feel scaled correctly for the room?
- Is there one obvious focal point?
- Do the lighting, rug, and larger pieces support the same layout?
- Would this room still work on an ordinary weekday, not just in a photo?
This is where AI becomes genuinely practical. Instead of debating abstractly, you can look at a render and decide whether the room feels calmer, more open, more balanced, or easier to use. Publications like Better Homes & Gardens often stress that the best rooms solve daily-life problems quietly. AI can help you see whether a layout does that before you commit.
Step 5: Turn the Best Render Into a Real Style Plan
Once you have one or two strong directions, stop generating for a moment and extract the logic from the render. Look at the details that repeat: maybe it is warm oak, a lower-profile sofa, softer lighting, a larger rug, lighter walls, or one stronger accent chair instead of too many small pieces. These are the clues that turn a concept into a plan.
A simple style plan usually includes:
- Layout moves: what needs to shift, rotate, or be removed
- Anchor items: the few pieces that define the room visually
- Material direction: wood tone, metal finish, textiles, wall color
- Lighting strategy: ceiling light, lamp, task lighting, mood lighting
- Phase order: what to do now versus what can wait
This step is what makes DecorAI more than a novelty. The app gives you a visual starting point, but the value comes from translating that image into a sequence you can follow. If you are working with limited space, our small-space layout guide is useful here. If you are working with limited money, the next stop should be our budget upgrade guide.
Step 6: Execute Without Overspending
The smartest way to ai remodel room decisions into reality is to phase them. Start with changes that shift the room most visibly: furniture placement, wall color, one anchor piece, a larger rug, or better lighting. Then add the smaller styling layers after the structure feels right.
This is especially helpful for renters and budget-conscious homeowners. You do not need to buy everything at once. Many strong rooms come together through a sequence of smart decisions rather than one expensive shopping trip. Sites like Apartment Therapy often show how a few strategic upgrades can transform a room more effectively than lots of small, uncoordinated purchases. AI makes those priorities easier to spot.
If you are using DecorAI well, the final render should reduce waste, not increase it. It helps you avoid buying the wrong rug size, the wrong style direction, or the wrong mood entirely. That is one of the most practical benefits of using AI for room design in the first place.
FAQ: AI Design a Room
How many versions should I generate before choosing one?
Usually three to five is enough to find a strong direction. More than that can be useful, but only if you are comparing them against a clear function and layout goal.
Is AI room design useful for renters?
Yes. It is especially useful for renters because it helps prioritize removable, affordable, high-impact changes before any money is spent.
Can I use AI-generated room plans for shopping?
Yes, but use them as visual guidance rather than exact product matching. Focus on proportions, materials, color direction, and room flow first.
Design Your Room with a Clear Plan
Upload a room photo, compare realistic design directions, and turn the best result into a style plan you can actually follow with DecorAI.
Try DecorAI FreeVisualize Your Dream Home Instantly
Don't just read about it. Experience the power of AI interior design with DecorAI's free tool.
Start Designing for FreeWritten by
DecorAI Team
Editorial Team